Every phone photo you take is quietly enormous. A normal 12-megapixel shot comes off the camera at 3–6 MB — fine on your phone, terrible the moment you need to email it, upload it to a form that says "max 200 KB", or put it on a website where every extra megabyte slows the page down. Compressing images is the fix, and done properly it is close to invisible: we routinely cut photos by 80–90% with no difference you can see at normal size.
This guide explains what actually happens when you compress an image, which format to choose, and the settings we use ourselves after compressing thousands of images while building this site.
What the quality slider actually does
JPG and WebP are lossy formats. Instead of storing every pixel exactly, they store a mathematical approximation of the photo, and the quality setting decides how rough that approximation is allowed to be. The clever part is that the algorithm throws away the detail human eyes are worst at seeing first — very fine texture and small colour variations — which is why a photo at quality 80 looks identical to the original in normal viewing but is a fraction of the size.
The relationship between quality and size is not linear, and this is the key insight most people miss:
| Quality setting | Typical size of a 4 MB photo | How it looks |
|---|---|---|
| 100 | ≈ 3.5 MB | Identical — and a waste of space |
| 85 | ≈ 800 KB | Indistinguishable from the original |
| 75 | ≈ 500 KB | Visually identical in normal viewing |
| 60 | ≈ 300 KB | Fine for chat and thumbnails |
| 40 | ≈ 180 KB | Soft edges, blocky skies start to show |
Going from quality 100 to 85 saves around three-quarters of the file and costs you nothing you can see. Going from 60 to 40 saves far less and costs a lot. That is why the sweet spot for almost everything is 75–85.
Resize first — it matters more than compression
Here is the single biggest trick in this whole guide: match the pixel size to how the image will be used before you compress it. A modern phone photo is about 4000×3000 pixels. A blog column, a WhatsApp preview or a marketplace listing displays at most 800–1600 pixels wide. All those extra pixels are pure wasted weight.
Real example from our own testing: a 4032×3024 photo at 4.1 MB, resized to 1600 pixels wide and saved at quality 80, came out at 310 KB — a 92% reduction — and looked exactly the same inside the page it was used on. Compression alone, without the resize, only got it to 1.1 MB.
JPG, PNG or WebP — which format?
| Format | Best for | Transparency | Typical size |
|---|---|---|---|
| JPG | Photos, anything that must open anywhere | No | Baseline |
| WebP | Photos and graphics for the web | Yes | 25–35% smaller than JPG |
| PNG | Screenshots, logos, sharp-edged graphics | Yes | Large for photos — avoid |
The mistake we see most often is photos saved as PNG. PNG is lossless, so a photo that would be 500 KB as a JPG can be 4 MB as a PNG with no visible benefit. Use PNG only when you need transparency or pixel-perfect screenshots; use WebP when the destination supports it (every modern browser does); use JPG when you are not sure what will open the file.
The settings we actually use
- Website images: resize to the display width, WebP at quality 80. This is what keeps pages fast — and page speed affects how high a site ranks in search.
- WhatsApp / social sharing: 1600 px wide, JPG at quality 75. The apps re-compress whatever you send anyway, so sending a huge original gains nothing.
- Email attachments: 1600 px, JPG quality 80 — a dozen photos fit in one email instead of three.
- Storage / archives: keep the original. Compression is for copies you share, not for the only copy you own.
Step by step with the free tool
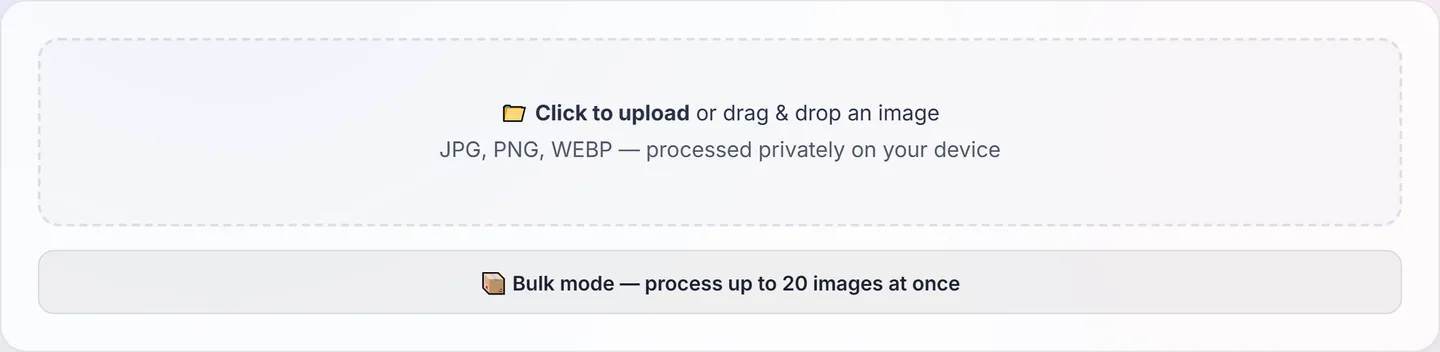
- Open the Image Compressor and drop your photo in. Nothing uploads — the whole job runs inside your browser.
- Pick a resize option if the photo is bigger than it needs to be (75% or a max-width usually does it).
- Set quality to about 80 and choose JPG or WebP.
- Press compress and check the before/after size — the tool shows the exact percentage saved.
When a form demands an exact size ("max 100 KB")
Job portals, visa applications and government forms often reject anything over a fixed limit. Guessing quality settings until the file squeaks under the line is slow, so we built a dedicated tool for it: set the KB target and it searches for the highest quality that fits under the limit automatically.
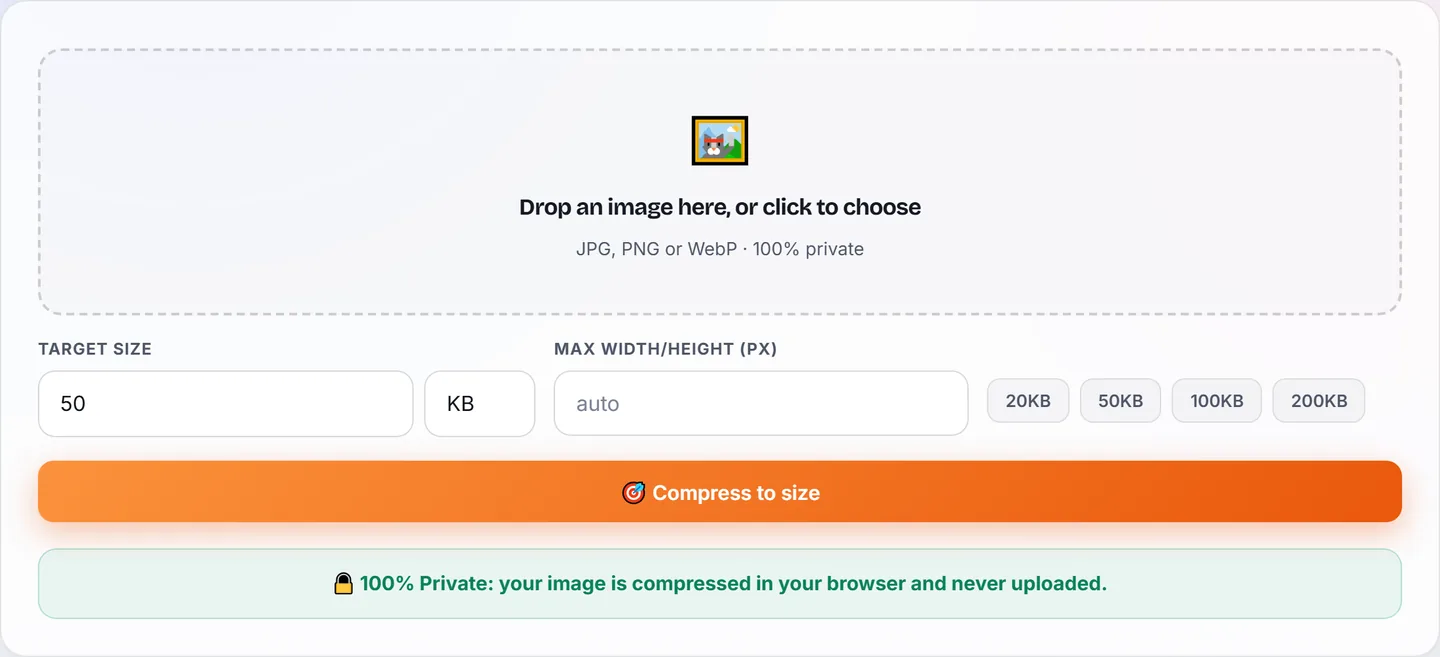
Use Compress to Size for those, and keep the plain compressor for everything else.
A note on privacy and metadata
Photos carry hidden EXIF metadata — often including the GPS location where they were taken. Re-encoding an image in the compressor strips that metadata as a side effect, which is usually what you want before posting a photo publicly. If you want to inspect what a photo is carrying first, the Metadata tab inside the Image Tools page reads it out, including a map link when GPS is present.
Mistakes to avoid
- Re-compressing the same JPG repeatedly. Each save is a new approximation of an approximation; after several rounds the damage compounds. Keep an original and compress copies.
- Compressing screenshots as JPG. Text gets fuzzy halos. Screenshots want PNG, or WebP at high quality.
- Quality 100 "to be safe". It is not safer — it is just 4× the size of quality 85 with no visible difference.
- Ignoring the resize step. It is the biggest single saving available, and most people skip it.